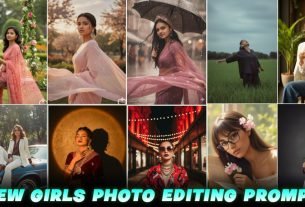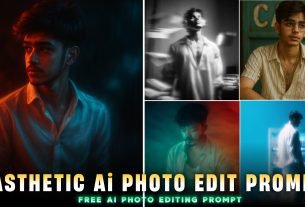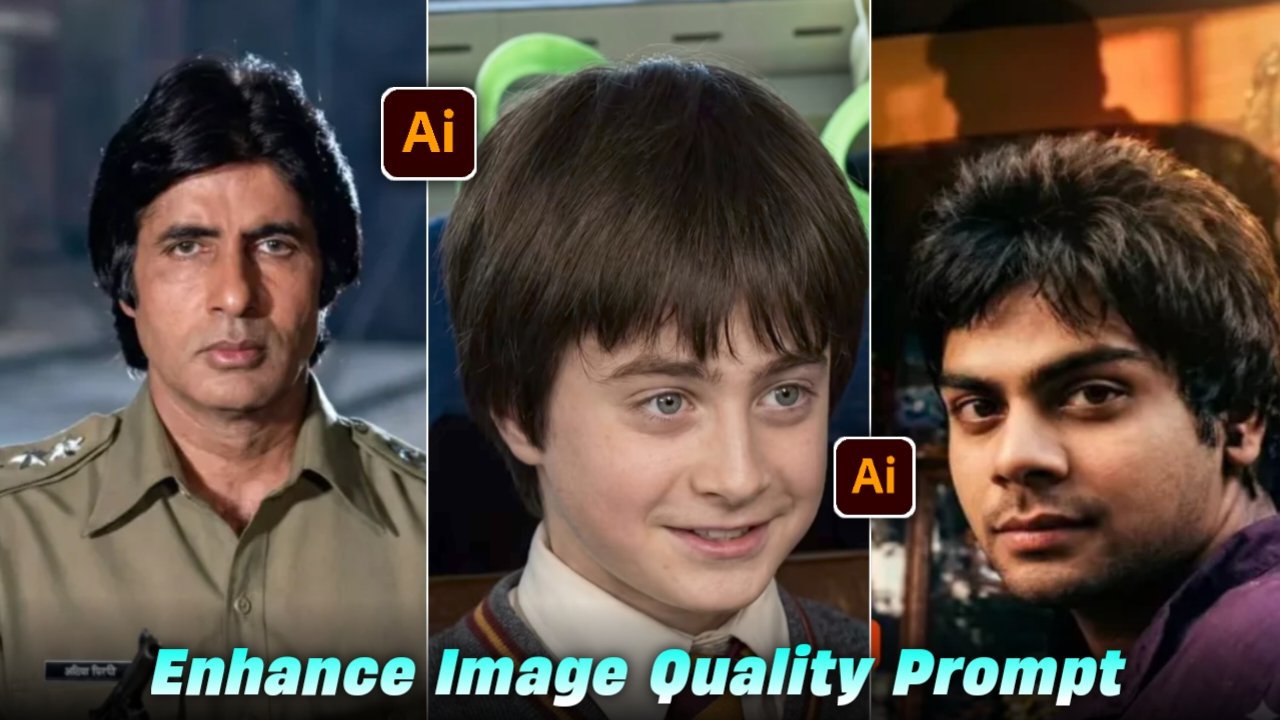
Normal To 4k High Quality Photo Editing Prompts – So friends, in today’s article I will tell you how you can increase your low quality photos up to 4K.Just by using a prompt, no matter how old your photo is, torn or unclear, you can restore it. And you must have seen that everyone is restoring their oldest photos. So in this article I will give you many such prompts of different types using which you can edit your photo, so for that you should read this article carefully, only then you will understand the entire process.It is going to be understood
Details:- Enhance Image Quality Prompt
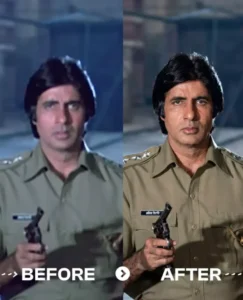
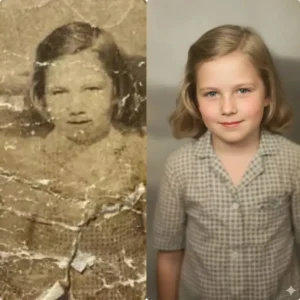
So friends, if we talk about this kind of photo image enhanced quality, then you can recover and restore many types of photos here, that is, if your photo is blurred and you are not clearly visible in it, then you can also increase that photo to 4K quality and if you have a childhood photo in which your face is not visible or the photo is completely torn, then you can restore that photo also by just using a front camera and you can increase even the worst photo of yours to high quality, so I am going to give you the prompt for all these in which article today, in which you can restore any type of photo and make it in high quality, so if you want this prompt and how you can restore the quality of any of your photos, I am going to tell you everything step by step in this article, so you just have to read this article carefully.
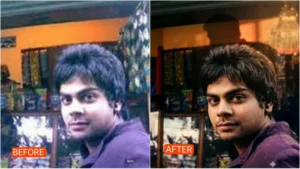
“Sharpen the textures in this image—skin, hair, clothing—and resolve the blur in the subject’s face. Make it crisp and clear, like a professional portrait.”
Dont chnage anything
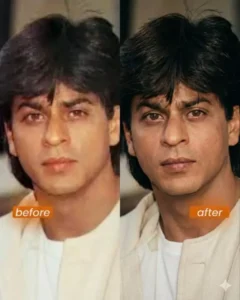
Enhance the portrait while strictly preserving the subject’s identity with accurate facial geometry. Do not change their expression or face shape. Only allow subtle feature cleanup without altering who they are.
Keep the exact same background from the reference image. No replacements, no changes, no new objects, no layout shifts. The environment must look identical.
The image must be recreated as if it was shot on a Sony A1, using an 85mm f1.4 lens, at f1.6, ISO 100, 1/200 shutter speed, cinematic shallow depth of field, perfect facial focus, and an editorial-neutral color profile.
This Sony A1 + 85mm f1.4 setup is mandatory. The final image must clearly look like premium full-frame Sony A1 quality.
Lighting must match the exact direction, angle, and mood of the reference photo. Upgrade the lighting into a cinematic, subject-focused style: soft directional light, warm highlights, cool shadows, deeper contrast, expanded dynamic range, micro-contrast boost, smooth gradations, and zero harsh shadows.
Maintain neutral premium color tone, cinematic contrast curve, natural saturation, real skin texture (not plastic), and subtle film grain. No fake glow, no runway lighting, no oversmoothing.
Render in 4K resolution, 10-bit color, cinematic editorial style, premium clarity, portrait crop, and keep the original environmental vibe untouched.
Re-render the subject with improved realism, depth, texture, and lighting while keeping identity and background fully preserved.
NEGATIVE INSTRUCTIONS:
No new background.
No background change.
No overly dramatic lighting.
No face morphing.
No fake glow.
No flat lighting.
No over-smooth skin.
How To Enhance Image Quality :-
- First of all, you have to click on the create image button.
- And you have to login with your Google account.
- And below you have to click on the plus icon and upload your selfie photo & Girlfriend pic
- Now you have to copy the prompt I have given above.
- Then you have to paste the prompt in the text below
- Now you have to send it.
- Your image will be ready.
- Now you have to download it by clicking on your image
conclusion
So friends, above I have given you the problem of increasing the quality of any of your oldest photos to high quality, if your photo is blurred then you can enhance that too or you can increase the quality of any photo, so above I have told you that you can enhance your photo and I have also told you all the steps step by step, by following this you can increase the quality of your image in a very easy way, maybe you have understood it.